Can you reuse potting soil? A fall container cleanup guide
Sort each pot by plant health and container type, then choose a clear next step: compost, store, refresh, or discard.
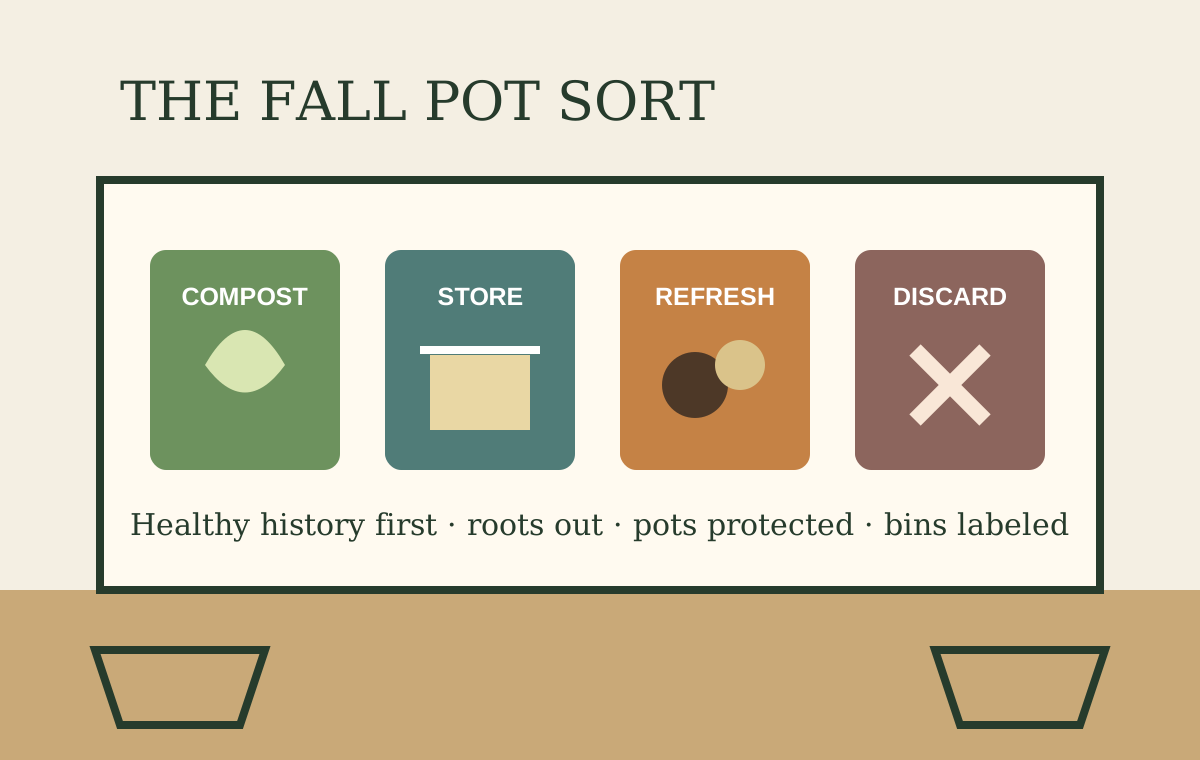
At the end of a container season, the potting mix often looks like either waste or next year’s free soil. It is neither. Used mix can lose structure and nutrients, collect roots and soluble salts, or carry a pest or disease forward. But clean mix from healthy plants may still be useful when you store it well and give it an appropriate job.
The safest small-space approach is to decide pot by pot. Do not combine everything into one tub first. Once suspect roots or infested mix enter the shared pile, you lose the ability to make a careful choice.
The four-bin fall sort
| Bin | What goes there | Next step |
|---|---|---|
| Compost | Healthy annual tops and roots that suit your compost system | Cut large pieces; exclude diseased or treated material when local guidance says to |
| Store | Clean, loose mix from healthy plants | Remove roots, dry as appropriate, label, and cover |
| Refresh | Clean mix that has settled or shrunk but still drains | Blend for a lower-risk use next spring; restore structure and nutrients |
| Discard | Mix linked to disease, root rot, soil pests, contamination, or severe salt buildup | Bag or dispose according to local guidance; do not spread the problem |
Step 1: read the root ball before you shake it apart
Slide the plant out while the root ball is intact. Healthy roots are generally firm. A sour smell, blackened or mushy roots, obvious galls, heavy insect activity, or widespread decay is a reason to stop and investigate. Photographs of the whole plant, roots, and symptoms are useful if you contact an Extension diagnostic service.
Do not assume every dead annual had a disease. Frost, missed watering, heat, crowding, and the natural end of an annual’s life can all finish a container. The point is to remember what happened through the season rather than diagnose from one brown stem in October.
Step 2: choose reuse only for the right job
Fresh seed-starting mix needs consistent texture, drainage, and low disease risk. Old outdoor container mix is a poor default for starting delicate seedlings. Save it instead for mature container plants, seasonal outdoor displays, or as one component of a refreshed blend when its history is clean.
Penn State Extension recommends a quality soilless mix for containers and warns against straight garden soil because dense soil can drain poorly in pots. Used potting mix should remain a container medium; adding heavy yard soil does not “restore” it. Illinois Extension also notes that a gravel layer at the bottom does not improve drainage. The drainage hole, container shape, and the mix itself matter more.
Step 3: remove roots without stripping the mix
- Cut the plant at the soil line if you want a clean top for compost.
- Lift the root ball onto a tarp or shallow tote.
- Pull out thick roots, labels, slow-release fertilizer shells, irrigation parts, and debris.
- Break apart compacted clods by hand. Do not pulverize the mix into dust.
- Return questionable material to its own container until you decide its fate.
Fine roots left in clean mix will decompose, but a dense root mat occupies air space and makes spring planting awkward. A half-inch screen can help with a large batch, though screening every pot is unnecessary.
Step 4: protect the container from winter damage
The pot and the mix have separate winter needs. Illinois Extension advises that most containers can be damaged by repeated freezing and thawing when left full of wet soil; large concrete or wooden planters may be exceptions. Empty and store vulnerable terra-cotta, ceramic, and many decorative pots under cover. Follow the maker’s care instructions when available.
If you leave a hardy perennial outdoors in a container, treat it as an overwintering plant rather than stored soil. Illinois Extension explains that roots in pots are exposed to colder, more variable temperatures than roots in the ground. A large soil mass, insulation, a protected location, and appropriate winter moisture can improve survival, but hardiness varies by plant and climate.
Step 5: store clean mix dry enough, covered, and labeled
Choose a lidded tote, heavy bag, or covered bin that keeps out rain, weed seeds, rodents, and windblown debris. The mix should not go into storage saturated. Let excess moisture drain and avoid sealing a warm, waterlogged mass where odors and anaerobic conditions can develop.
Label the container with the year, crops, and any problems you observed. “2026 balcony herbs — healthy” is more useful than “soil.” If one tomato struggled with an unknown wilt, keep its mix separate from the apparently healthy herb pots until you have better information.
How to refresh used potting mix in spring
Refresh after you know what you will grow and after checking whether the stored mix still drains. There is no universal amendment recipe because commercial mixes begin with different proportions of bark, peat, coir, perlite, vermiculite, compost, lime, and fertilizer.
- Restore air space. If the mix has collapsed, combine it with fresh container mix or an ingredient recommended for your crop and product.
- Restore nutrients deliberately. Containers lose nutrients through plant uptake and watering. Use a fertilizer labeled for the crop and container use; do not guess with a handful of concentrated amendment.
- Check salts. A pale crust on the rim or mix surface may indicate accumulated salts. University of Maryland Extension advises leaching container media with clear water when soluble salts are excessive, while also correcting overfertilization.
- Keep drainage open. Confirm holes are unobstructed. Skip the gravel layer.
For high-value seedlings or a plant that is prone to root disease, fresh mix is cheap insurance. Use the old material for a less sensitive outdoor purpose if its history is clean.
Should you sterilize old potting soil?
Home heat-treatment advice is often presented as a cure-all, but it can be messy, odorous, uneven, and unsafe when improvised. It also does not rebuild structure or nutrients. If the mix carried a serious problem, replacement is usually the clearer small-scale choice. If you need a sanitized medium for propagation, use a packaged product intended for that job or follow a current Extension protocol exactly.
A 30-minute balcony cleanup
- Set out four labeled containers: compost, store, refresh, discard.
- Photograph any plant with unusual symptoms before disturbing roots.
- Process the healthiest pots first and the questionable pots last.
- Brush soil from rims and drainage holes; wash empty containers.
- Move breakable pots under cover before a hard freeze.
- Label stored mix by year and crop history.
- Write one spring note: which containers need fresh mix, which can be refreshed, and which plants earned another season.
This project fits the same small-homestead habit as the fall soil-cover guide: protect what you already have, keep useful organic matter cycling, and avoid creating a bigger spring job. If your growing setup still feels scattered, return to the start-where-you-live audit and count storage space, water access, and cleanup time as part of the garden.
Sources
Reviewed October 10, 2026. Container materials, plant health, and local disposal guidance should shape the final decision.