Cover bare garden soil this fall.
Leaves, compost, and cover crops can all protect a resting bed. The best choice is the one that fits your climate, planting calendar, and spring workload.
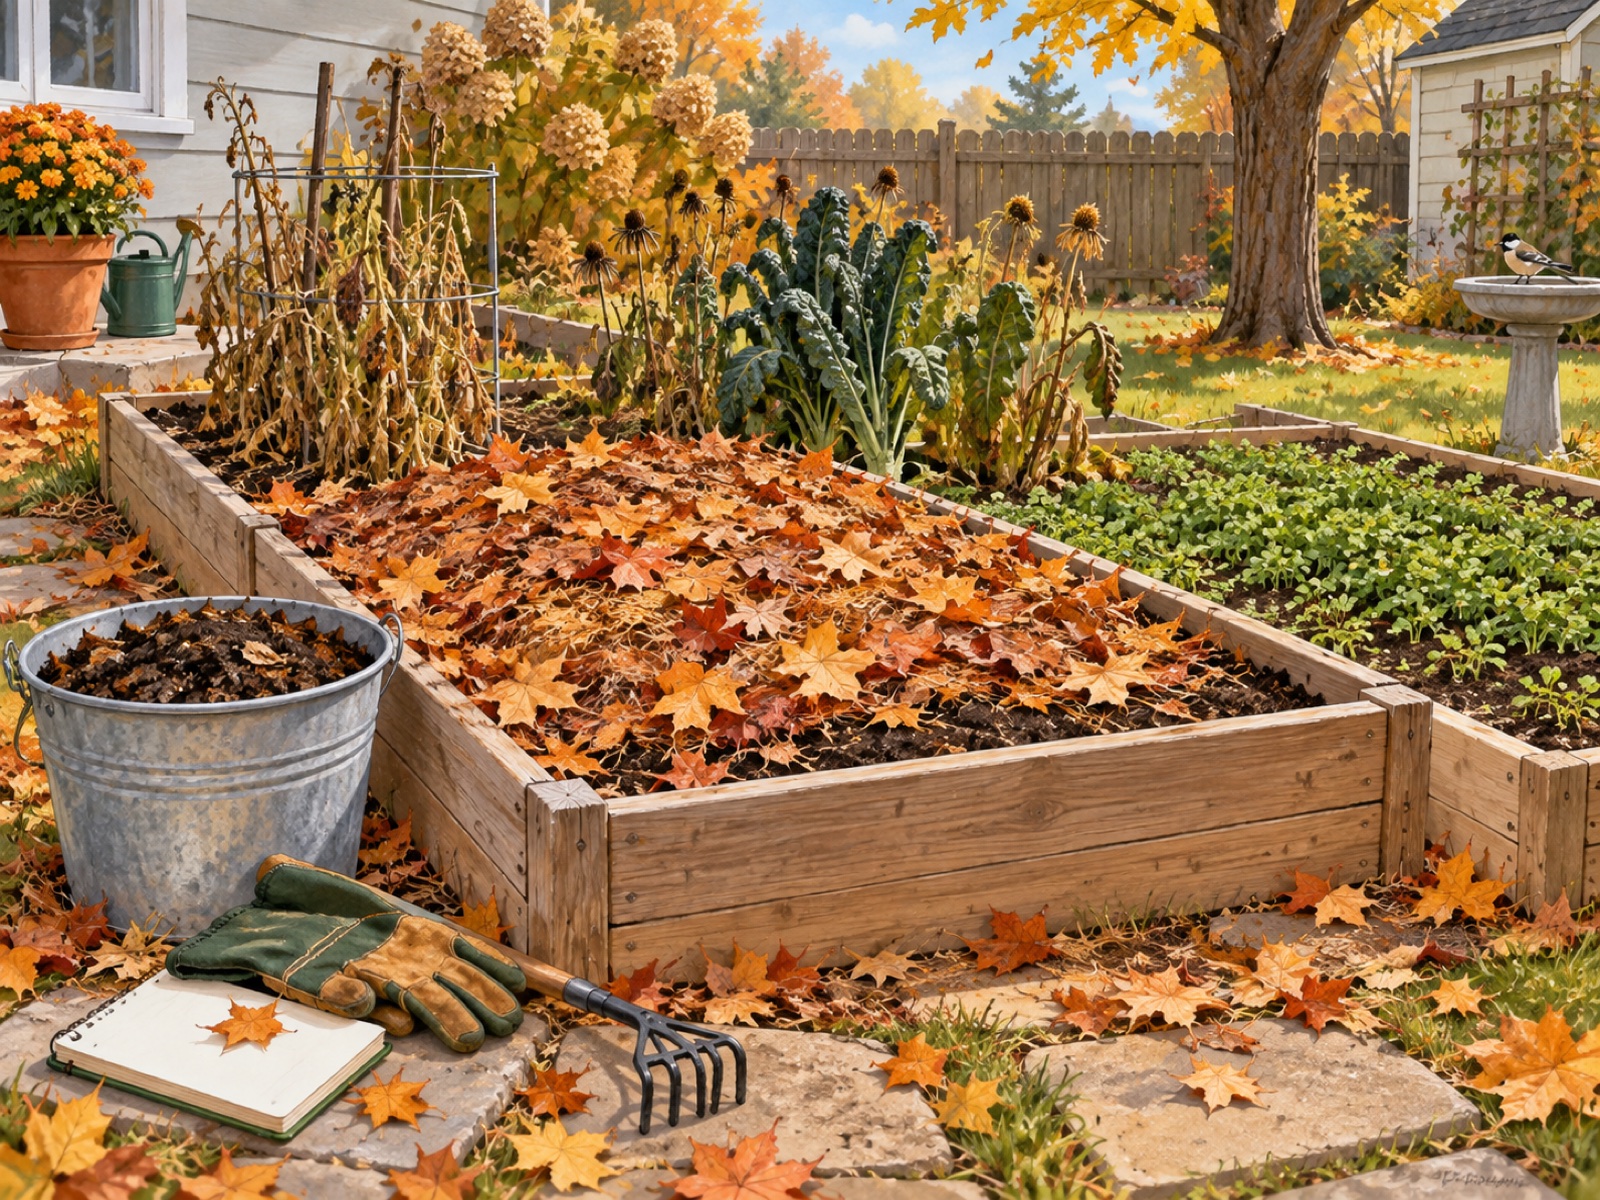
After the last harvest, an empty bed can look finished for the year. The soil is still working, though. Rain can pound the surface, weeds can occupy open ground, and repeated wetting can leave a crust or compacted layer. A simple cover protects the bed while giving you a useful fall project that does not require more growing space.
The timely choice is usually between three materials: shredded leaves, finished compost, or a living cover crop. Each can work. Each also creates a different job in spring.
Choose by the job you need done
| Your situation | Practical choice | Spring task |
|---|---|---|
| You want a low-cost cover and have clean fallen leaves | Spread a light, even layer of shredded leaves | Pull back or incorporate what remains when the soil is workable |
| The bed needs stable organic matter and the compost is fully finished | Top-dress with finished compost, then add a light mulch if needed | Plant into the surface or mix lightly according to the crop |
| You have enough growing time and want living roots | Choose a locally suitable cover crop | Terminate it early enough for the next crop |
| You garden in containers or a rented space | Use finished compost or a removable leaf cover | Refresh the potting mix without creating a difficult crop to terminate |
Option one: use leaves as a protective blanket
Oregon State University Extension recommends roughly one to two inches of leaves on an annual vegetable or flower bed in fall. That layer adds organic material, protects the surface from raindrop impact, and can suppress winter annual weeds. Shredding helps keep leaves from forming a dense, windblown mat.
Use leaves from healthy plants and inspect them for trash. Keep diseased or heavily pest-infested material out of a basic home system; local yard-waste or municipal compost programs may handle it more appropriately. Do not mound leaves against woody stems, trunks, or plant crowns.
Option two: top-dress with finished compost
Finished compost is dark, crumbly, and no longer reheats after mixing and curing. It adds stable organic matter without asking you to manage a living crop. EPA notes that compost can improve soil structure, water retention, and resistance to erosion.
More is not automatically better. Compost contains nutrients, and repeated heavy applications can oversupply some of them. A soil test and local Extension recommendations are a better guide than an annual habit copied from another climate. If your compost still contains recognizable food scraps or smells sour, let it finish rather than burying the problem in a bed.
Option three: keep living roots with a cover crop
Penn State Extension’s 2026 guidance calls late summer and early fall a useful planting window for home-garden cover crops. Living roots can protect soil, compete with weeds, add organic matter, and improve structure. The details are local: species, winter survival, seeding date, water, and the next planting date all matter.
Start with one bed, not the whole garden. Ask your local Extension office which species fits your hardiness zone and goal. Also decide how you will terminate it. Winter-killed species may leave a manageable residue; winter-hardy crops can require cutting or other timely control before they set seed or interfere with spring planting.
A 30-minute weekend plan
- Remove mature weeds, fallen produce, supports, string, and labels.
- Separate healthy residue from diseased or pest-infested material.
- Choose one small bed and name its spring crop.
- Pick leaves, finished compost, or a locally suitable cover crop based on the table above.
- Photograph the bed and record the material, depth or seed, and date in your garden notes.
- Set a spring reminder for pulling back mulch or terminating the cover crop before planting.
This project builds on the observation habits in Start homesteading where you live. If you are saving leaves for kitchen scraps, use the material guide in Your first compost bin. For next season’s crop choices, return to the small kitchen garden plan.
Sources checked
- Oregon State University Extension, Improving Garden Soils with Organic Matter.
- Penn State Extension, Tips for Planting Cover Crops in Home Gardens, updated February 2, 2026.
- Penn State Extension, Cover Crop Species Selection, updated July 22, 2026.
- U.S. Environmental Protection Agency, Composting at Home.